
Happy Monday guys! We are on day 7 of the #10daysoforganizing. I hope that you’ve been following along because there are some great projects that have bee done over the last week. Today I’m here with a quick and inexpensive pantry makeover that I did for my family. With the new year, it never fails…my urge to organize and declutter becomes rampant, but with good intentions of course. I just like to make like easier. As you know, I work full time, and manage a household, so organization is my key to success. I understand that things won’t be perfect, but striving to make daily things less stressful, like find an item in the pantry, is an easy fix. Before we move on, do you recognize that little masked head next to the flowers. Toddler Jules of course, he refused to move out of the picture, lol. Moving on…
Before my makeover, my pantry looked like this…

As you can see, I had containers and the intentions were good, but realistically the layout didn’t flow well and because of that, things just didn’t go back to their space, or they didn’t have a space.
So as you do with any organizing project, I approached this project with a very simple method:
Clear
Strategize
Organize
This isn’t any particular method that I researched, just where my mind went when thinking about the end goal of this project.
So I started by clearing everything out of the pantry. I needed to take a good inventory of the things that I had.
I tossed anything that was expired, or that I was holding on to “in case” I used it. Like those chili beans. I hate all beans and I really don’t know where those even came from, lol. I also moved some items to places that I had come up with a better organizational fit in other parts of the house.
After the pantry was cleared, I wiped it down with a household cleaner, along with the buckets that held the food, then I focused on my strategy and determined the best fit for the items I had left.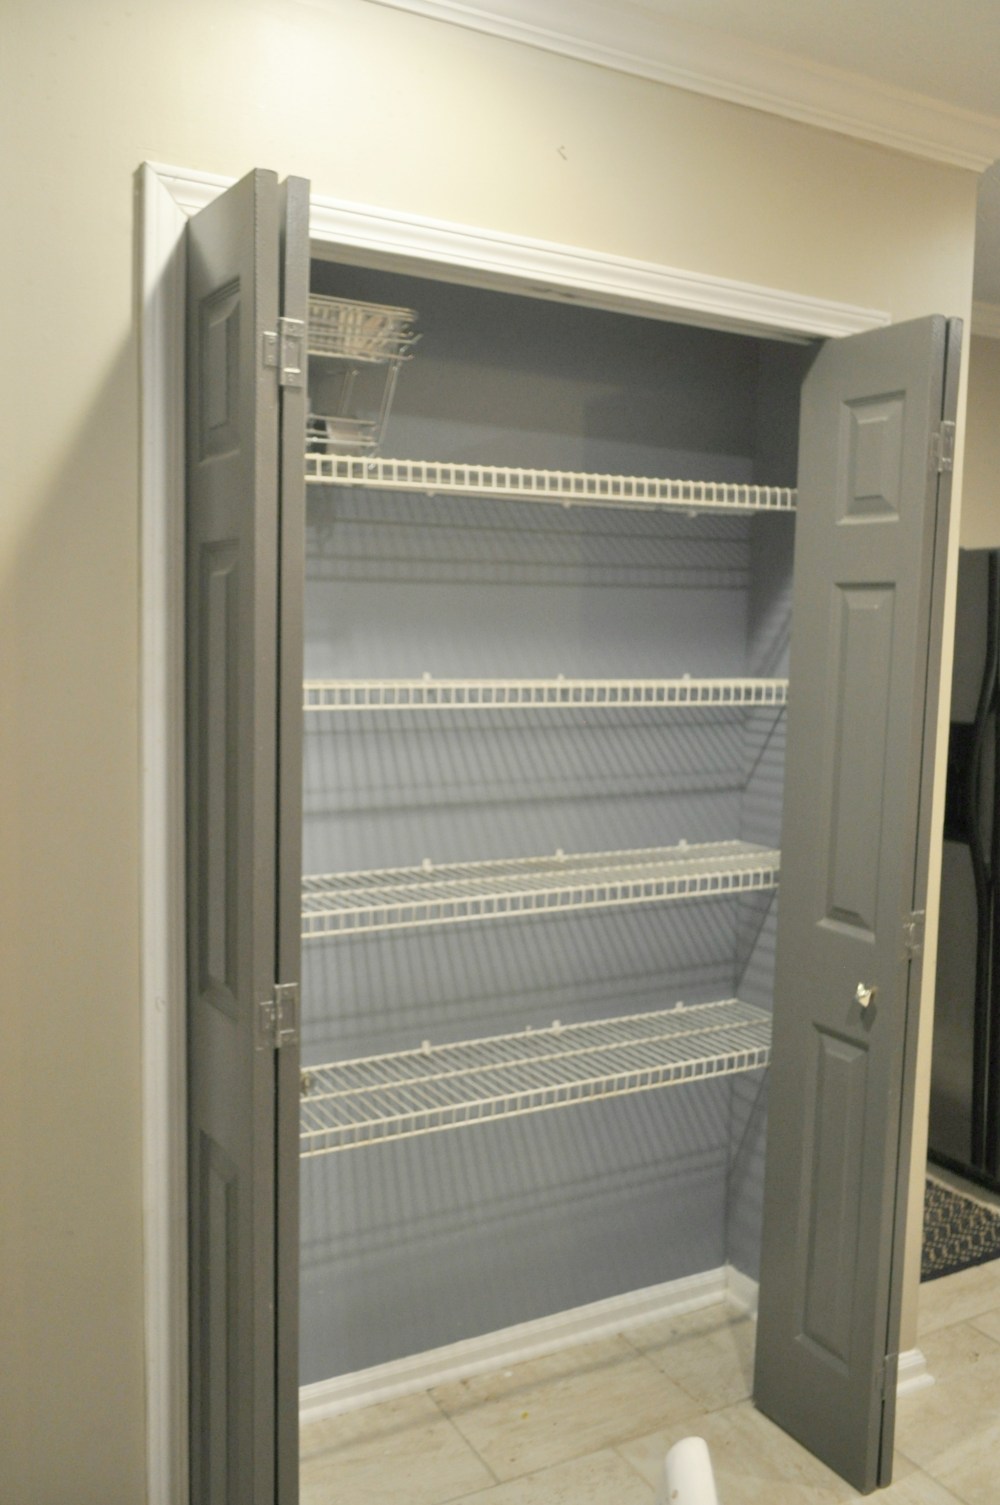
Here is what I came up with….
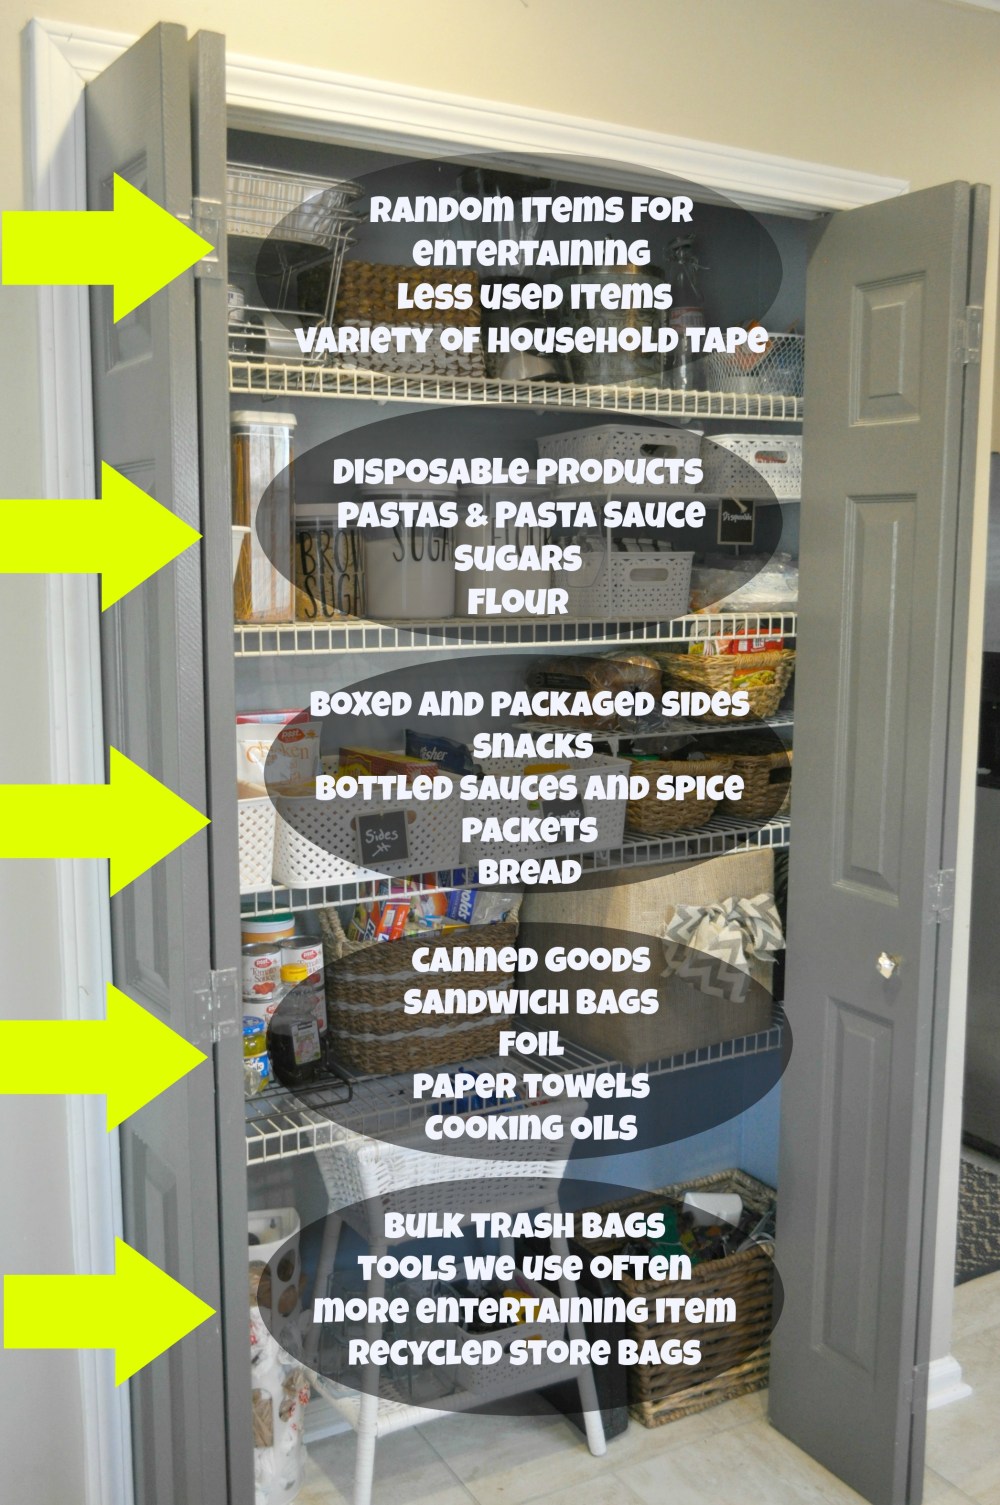
Because my kitchen is on the smaller side, I have to make the best use of every square inch. That’s why my pantry holds more than just food items. It pretty much holds any items, outside of food, that we need to be able to reach at any given moment.
After I organized, I made sure that the containers were labeled, or at least the containers purpose was visually clear. Don’t go overboard labeling the obvious stuff, but label containers that hold the items so that it’s easy to put things back where they belong.


And that’s it… A simple and family friendly pantry makeover that even my husband can keep organized.

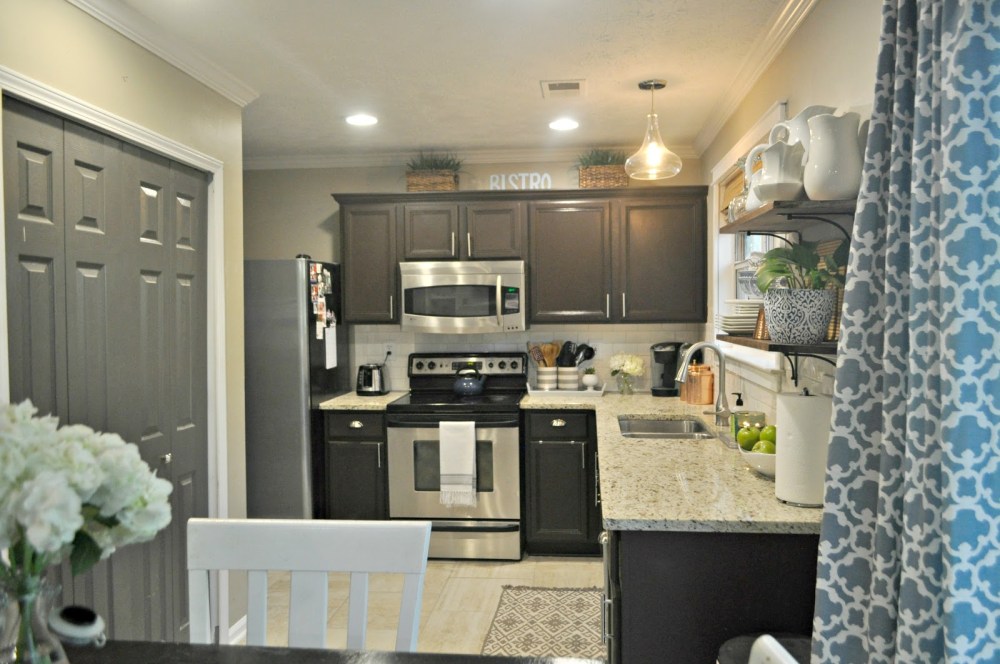
My pantry makeover flows so much better with newly made over kitchen.

I purchased most of the containers from TJ Maxx, and even the OXO airtight containers that hold the flour, sugar and pasta. The smaller baskets came from Target, and some I shopped the house and used. The white wicker basket came from Goodwill. The box with the burlap fabric was a DIY and holds extra paper towels. I got the sticker idea from my girl Alaya over at Behind the Big Green Door. People typically use vinyl to label these airtight containers, but these stickers from Hobby Lobby did the job and come in a variety of fonts and colors!
My plan is to one day get put some custom shelving in the space like Nicole did in her linen closet, so we shall see!
So what do you think? Pretty simple right? I love organized spaces. They make my heart happy, no exaggeration:)
Don’t forget to check out the other nine participants of the #10daysoforganizing. Head on over to Live Pretty on a Penny to check out the other participants!
